Motorcycle Headset Project
I had some old Oregon Scientific TP329 PMR radios I purchased from Argos years back when the kids were young and as they were still working thought about re-purposing them as motorcycle units. The biggest issue I has was trying to find a suitable helmet headset as there isn't much information available on the headset connector. I settled for the bike2bike (NCOHM100) headset manufactured by Pama but found that the standard connection was very poor and often the radio just wouldn't go off hook. So, together with my father in-law I worked out a way of soldering the cable directly to the PCB. This has proven to work very well and I now have a small production line modifying friends units for the same purpose.
Pama bike2bike Headset (NCOHM100)

This headset is widley available but the cheapest I've found is on Amazon - £15.23.
Amazon - http://www.amazon.co.uk/gp/product/B000ORW6W4
Pama Product Page - http://www.pama.com/helmet-mic-system---modified-open-face-2291-p.asp
Oregon Scientific TP329

The TP329 is no longer for sale however I have seen numerous twin packs on ebay for around £30.
The How to bit...
Step 1. Open up the TP329
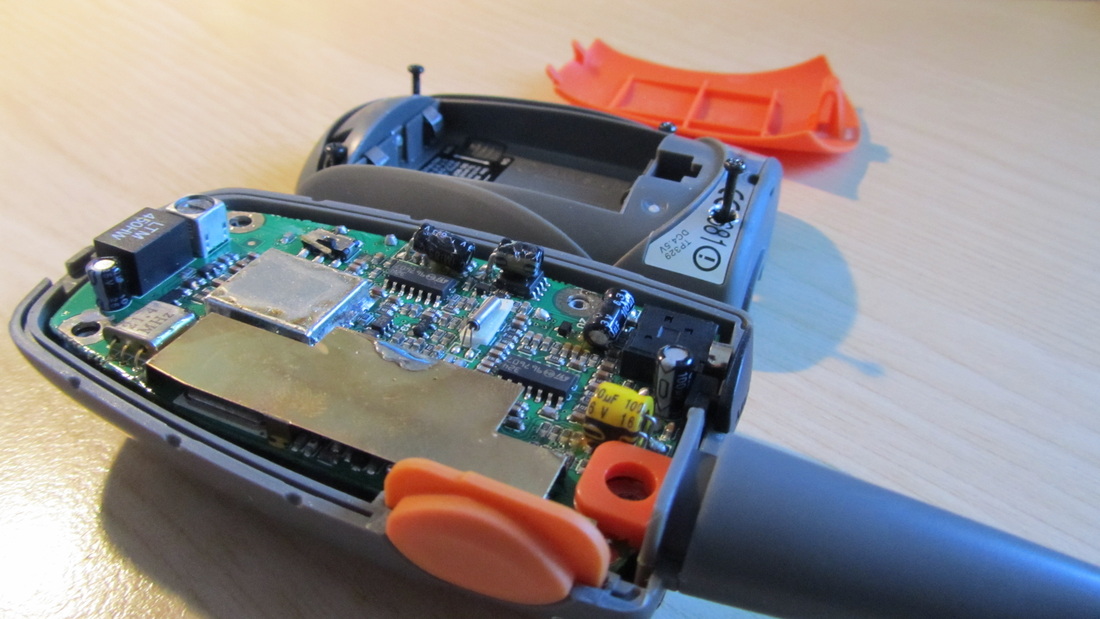
- Remove the orange plastic cover and batteries.
- Then remove the 4 screws noting that the 4th is hidden under the silver label. Poke around with a small screw driver and you should find the hole under the '0' of the 'CE0681' text.
Step 2. Remove PCB and disconnect speaker cables

- Carefully remove the casing and extract the PCB.
- Take a soldering iron and unsolder (or just cleanly cut) the wires to the speaker. this is optional but if you don't disconnect these then the received audio will be heard out of the speaker as well as your headset.
Step 3. Solder wires

- Cut the 2.5mm plug off the headset and bare the 4 wires
- Solder the wires as per the diagram below

Wiring diagram
Step 4. Apply some hot melt glue

- Apply some hot melt glue around the wires to help act as a strain releif as well as provide some additional insulation
Step 5. Widen the hole for the cable

- The cable will use the existing jack plug access hole. this needs to be widened to allow the cable through as well as the jack socket. I use a 4.5mm drill bit but if you have a round needle file this would be better.
Step 6. Re-assemble the unit

- Finally put the unit back together and add some hot melt glue to the cable hole to act as a strain relief
That's it. Just connect the PTT button and ear pad cables and you should be good to go...
