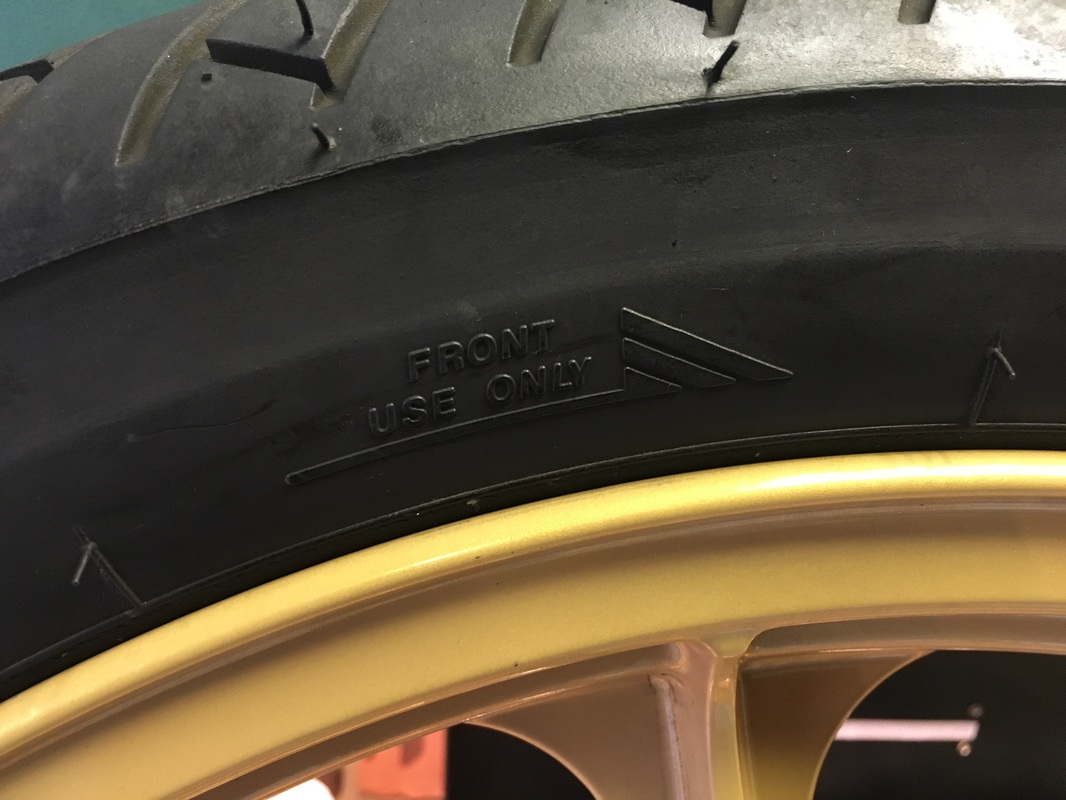
- Directional tyre fitted the wrong way around
- Im amazed that this has gone unnoticed as its pass at least two MoT's on this tyre. I can't believe i didn't notice though either. Anyway, i'll have to get the tyre changed around as the wheel is not reversible.
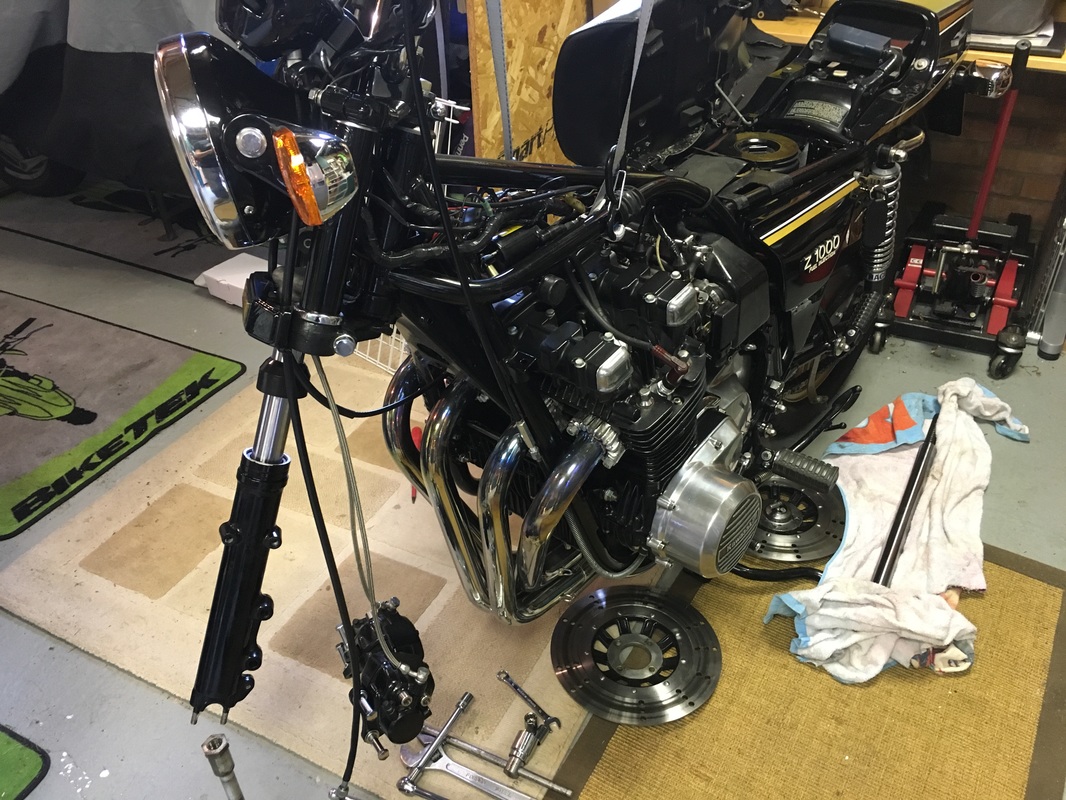
- Near side fork oil seal leaking
- Ive stripped down the shock and removed the seal. Replacement on order together with some fresh fork oil.
- Front and rear brake disk nuts loose
- Easily fixed but I'm miffed i missed this. I'll stick some loctite on them this time.
Oh the wow's of an old bike. I took a ride out with my son to Cheddar Gorge on Sunday but never made it as the battery died on me just outside the village. The bike basically stalled at low revs when I used brakes or indicators which could be caused by the drain on the battery from the lights causing a low spark. So, it sounds like the battery isn't being charged when the bike is running as id been on the bike for a good 45mins. Here's a video (not mine) on how to diagnose charging issues. Step 1 - Connect a DC Volt meter across the battery and check the voltage With the engine not running it should read over 12volts With the engine running (around 4k revs) the meter should read between 12 and 13 volts I found that my battery voltage didn't increase with the engine running and in fact reduced especially when the brakes or indicators were switched on. Symptomatic I guess of a failed regulator. Step 2 - Check and test Dynamo stator This can be checked at the connector rather than removing the stator case but I wanted to check the cables too. Checking from the plug is also using the wiring loom. The yellow cables all go to the Regulator/Rectifier. To test unplug the connector and check the resistance between each of the cables. The reading should be between 0.5 and 2ohms. Mine read 0.9ohms. Step 3- Check and test wiring loom The insulation on the wires shows some deterioration and has cracked near the case and could easily short to ground..which wouldn't be good. I used some heat shrink to repair the insulation and took the opportunity to also replace the connectors. Step 5 - Replace Regulator/Rectifier So my regulator/rectifier looked faulty so I replaced it. I also took the opportunity to replace the connector as it looked like the battery side (output) had melted at some point in the past and had been bypassed. Replacement Regulator/Rectifier
Interestingly the original part was SH230-12 0.1 where as the replacement is SH530-12 1.5. I haven't yet found what these reference numbers mean but replacing the unit seems to have done the trick as I now see the battery voltage increase with rev's. |
AuthorShaun Chivers. Archives
August 2016
Categories |